Do you love eating button mushrooms? Do you want to grow your own fresh and organic mushrooms at home? If yes, then this blog post is for you!
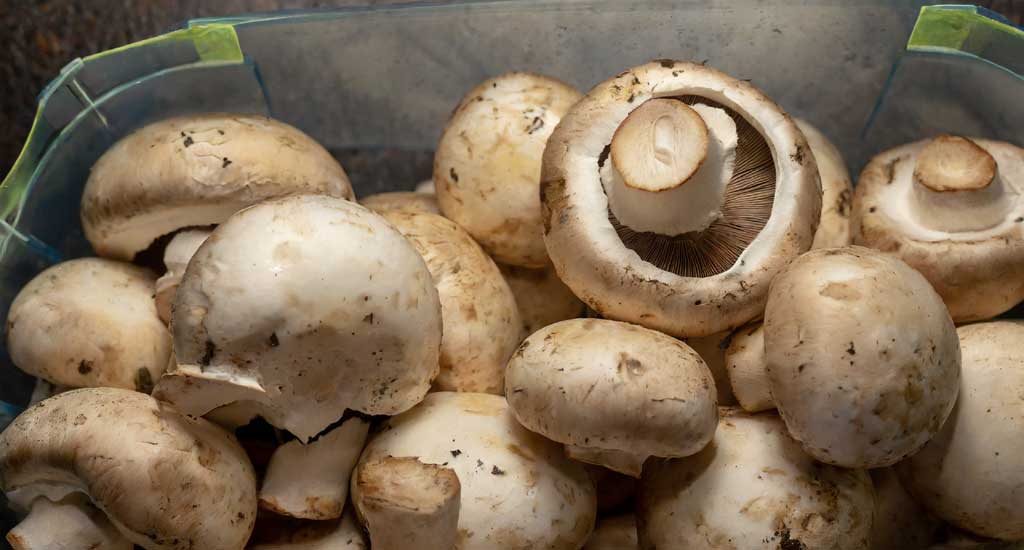
Button mushrooms, also called white mushrooms or Agaricus bisporus, are immensely popular and widely eaten mushrooms worldwide. They are easy to grow, delicious to eat, and have many health benefits. They are rich in protein, fiber, vitamins, minerals, and antioxidants. White mushrooms can also boost your immune system, lower your cholesterol, and prevent some types of cancer.
But how do you grow button mushrooms at home? Is it difficult or expensive? What do you need to get started?
Don’t worry; we have got you covered. This blog post will show you how to grow button mushrooms at home and cost-effectively. You will learn:
-
- What are the basic requirements for growing button mushrooms at home
- How to prepare the substrate and the spawn for your mushroom cultivation
- How to inoculate, incubate, and fruit your mushroom crop
- How to harvest, store, and enjoy your homegrown white button mushrooms
By following this step-by-step guide, you can grow your own button mushrooms at home in no time. You will also save money, reduce waste, and have fun in the process.
So, let’s get started!
What are The Basic Requirements For Growing Button Mushrooms at Home?
To grow button mushrooms at home, you will need the following:
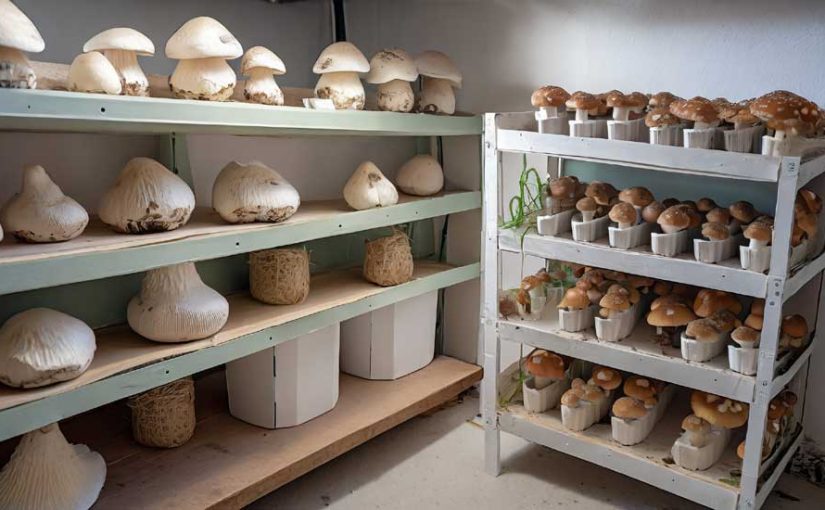
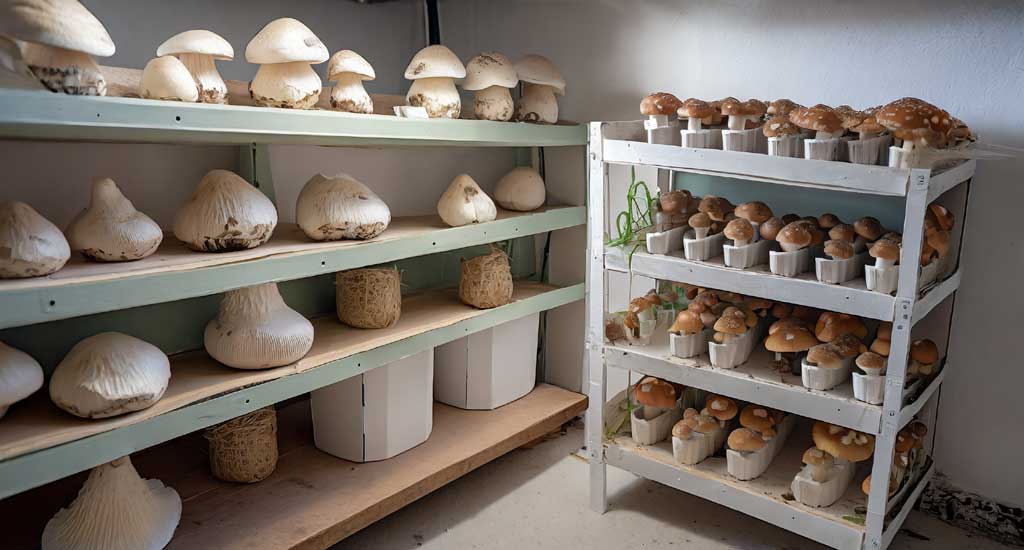
- A Suitable Growing Space: To grow mushrooms, you will need a dark, cool, and humid place. This can be a basement, closet, garage, shed, or cardboard box. Button mushrooms grow best at temperatures between 15°C to 25°C and humidity between 80% to 90%.
- A Suitable Substrate: The substrate is the material that provides nutrients and moisture for your mushrooms. You can use different natural materials like straw, hay, sawdust, wood chips, paper, cardboard, coffee grounds, or compost. You will need about 10 kg of substrate for every 1 kg of mushroom spawn.
- The spawn is the material that holds the mushroom mycelium, which is the root-like network of fungal cells. You can buy ready-made mushroom spawn online or from a local supplier or make your own spawn from fresh mushrooms. You will need about 1 kg of spawn for every 10 kg substrate.
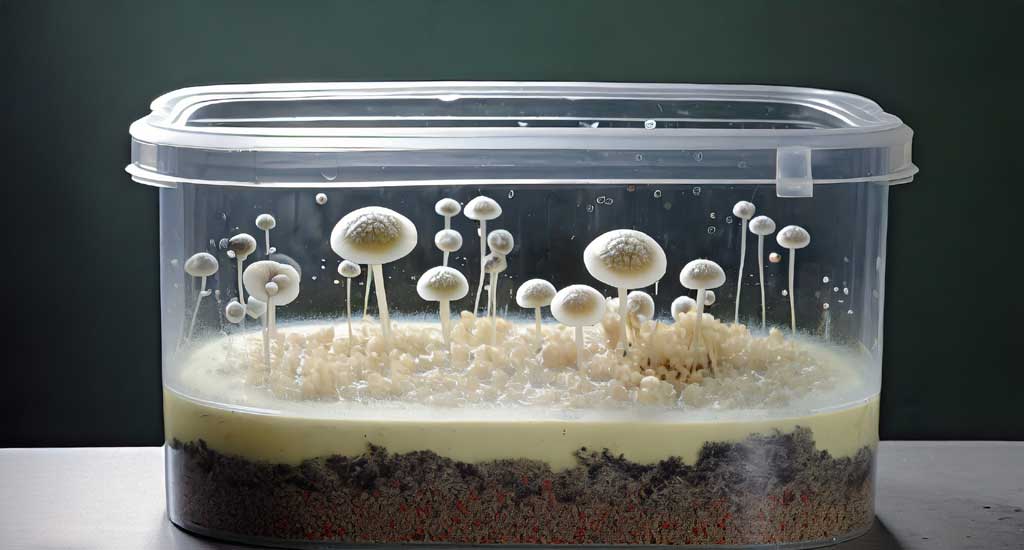
- Choose a Plastic or Metal container with a lid and holes for ventilation to hold your substrate and spawn. You can also use a plastic bag or cardboard box. The container size depends on the amount of substrate and spawn you have, but it should be manageable and shallow. A depth of 10-15 cm is ideal.
- Some Essential Tools: You will need basic tools to prepare your substrate and spawn, such as a knife, scissors, a hammer, a drill, a thermometer, a hygrometer, a spray bottle, and a plastic sheet.
How to Prepare The Substrate and The Spawn For Your Mushroom Cultivation?
Before you can grow your button mushrooms, you need to prepare your substrate and your spawn. Here are the steps to follow:
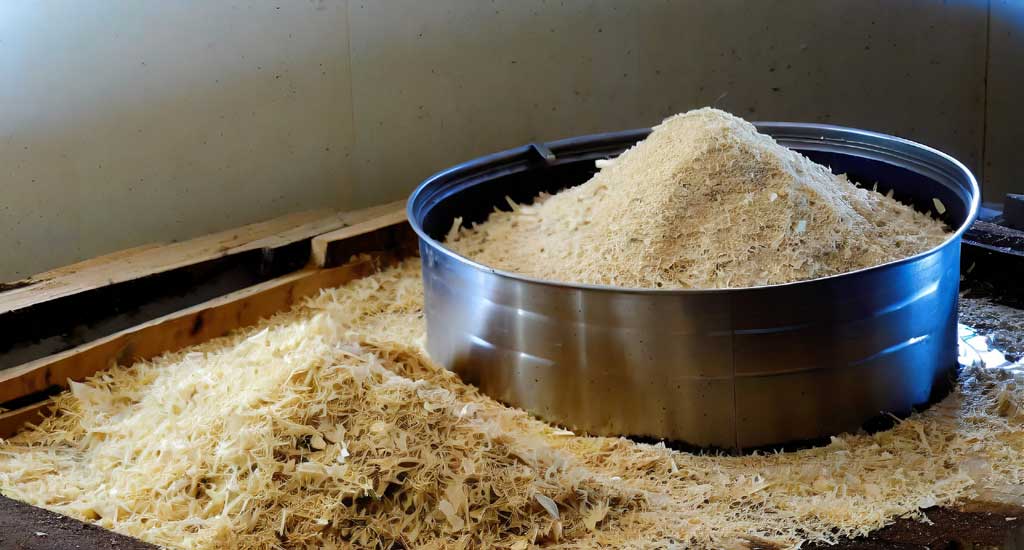
- Step 1: Choose and chop your substrate: To make a good substrate, you can use any cheap organic material such as straw, hay, sawdust, wood chips, paper, cardboard, coffee grounds, or compost. It would help to chop the substrate into small pieces about 2-5 cm long. This will allow the substrate to absorb water more efficiently and mix well with the spawn.
- Step 2: Pasteurize your substrate:
-
- To make sure your mushrooms grow well, it’s important to get rid of any unwanted bacteria, fungi, or insects in your substrate. You can do this by heating it in water at 70°C for 1 hour or steaming it for 2 hours.
- You can use a large pot, a pressure cooker, or a microwave oven for this once you’ve heated your substrate, drained it, and cooled it to room temperature.
-
- Step 3: Choose and break your spawn: You can buy ready-made mushroom spawn online or from a local supplier or make your own spawn from fresh mushrooms. You need to break your spawn into small pieces, about 1 cm to 2 cm in size. This will help the spawn to spread evenly throughout the substrate.
- Step 4: Mix your substrate and spawn: You need to mix your substrate and spawn thoroughly in a clean container.
-
- You can use your hands or a wooden spoon for this purpose. You must use about 10% of spawn for every 90% substrate by weight. For example, if you have 10 kg of substrate, you need 1 kg of spawn.
- The mixture should be moist but not soggy. You can squeeze a handful of the mix to see if it holds its shape and release a few drops of water. If it is too dry, you can add some water. If it is too wet, you can add some dry substrate.
-
How to Inoculate, Incubate, and Fruit Your Mushroom Crop?
After you have prepared your substrate and spawn, you need to inoculate, incubate, and fruit your mushroom crop. Here are the steps to follow:
- Step 1: Inoculate your container: You need to fill your container with the substrate and spawn mixture.
-
- You can use any plastic or metal container with a lid and some holes for ventilation. You can also use a plastic bag or a cardboard box. It would help if you packed the mixture firmly but not too tightly.
- You need to leave some space at the top of the container for the mushrooms to grow. You must cover the container with the lid or seal the bag or box with tape. You need to label the container with the date and the type of mushroom.
-
- Step 2: Incubate your container: To grow mushrooms, you need to place your container in a dark, cool, and humid area.
-
- This could be a basement, closet, garage, shed, or cardboard box. Keep the temperature between 15°C and 25°C and humidity between 80% and 90%. A thermometer and a hygrometer can help you monitor the conditions.
- Check the container every few days and spray some water if it looks dry. Avoid opening the container or disturbing the mixture.
- Wait 2 to 4 weeks for the mushroom mycelium to colonize the substrate. You will see white fuzzy growth on the surface and inside the mixture. This means your mushrooms are ready to grow.
-
- Step 3: Fruit your container: To grow your mushrooms, you need to expose your container to light, fresh air, and lower temperature. Place your container near a window, a fan, or an air conditioner. Reduce the temperature to 10°C to 15°C, and increase the light to 8 to 12 hours daily.
-
-
-
-
- Remove the lid or open the bag or box slightly to allow some air exchange. Keep spraying some water to maintain the humidity.
- Wait for 2 to 4 weeks for the mushrooms to form and grow. You will see small brown bumps on the surface of the mixture. These are the mushroom pins, which will develop into mature mushrooms.
-
-
-
How To Harvest, Store, and Enjoy Your Homegrown Button Mushrooms?
After you have fruited your container, you need to harvest, store, and enjoy your homegrown button mushrooms. Here are the steps to follow:
- Step 1: Harvest your mushrooms:
-
- You need to pick your mushrooms when they are fully grown but before they open their caps. You can gently twist and pull the mushrooms from the substrate using your fingers or a knife.
- You need to harvest your mushrooms as soon as possible, as they will spoil quickly. You can expect to harvest about 0.5 kg to 1 kg of mushrooms for every 1 kg of spawn you use.
-
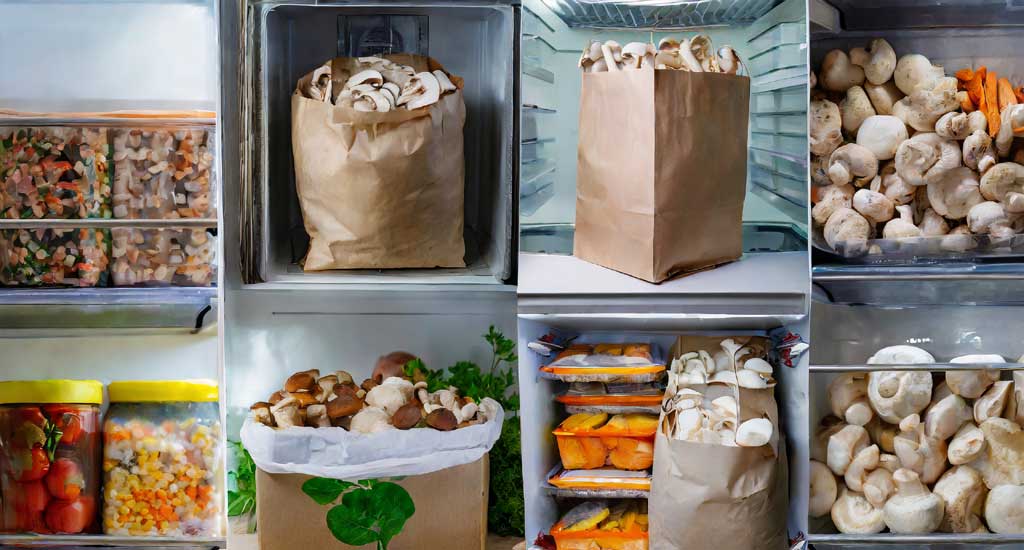
- Step 2: Store your mushrooms: It would help to store your mushrooms in a paper bag or a cardboard box in the refrigerator.
-
- You must avoid using plastic bags or containers, as they make your mushrooms soggy and slimy. You must consume your mushrooms within a week or freeze them for longer storage. You can also dry your mushrooms in a dehydrator or an oven and store them in an airtight jar for up to a year.
-
- Step 3: Enjoy your mushrooms: It would help if you washed your mushrooms before cooking or eating them.
-
- You can use your mushrooms in various dishes, such as soups, salads, stir-fries, pizzas, or omelets.
- You can also eat your mushrooms raw, but ensure they are fresh and clean. You can enjoy the delicious taste and the health benefits of your homegrown button mushrooms.
-

Conclusion
Growing button mushrooms at home is a fun and rewarding hobby. You can grow your own fresh and organic mushrooms cost-effectively. You need a suitable growing space, a suitable substrate, a suitable spawn, a suitable container, and some basic tools.
Follow this step-by-step guide to prepare your substrate, spawn, inoculate, incubate, and fruit your mushroom crop, and harvest, store, and enjoy your homegrown button mushrooms. You will save money, reduce waste, and have fun in the process.